
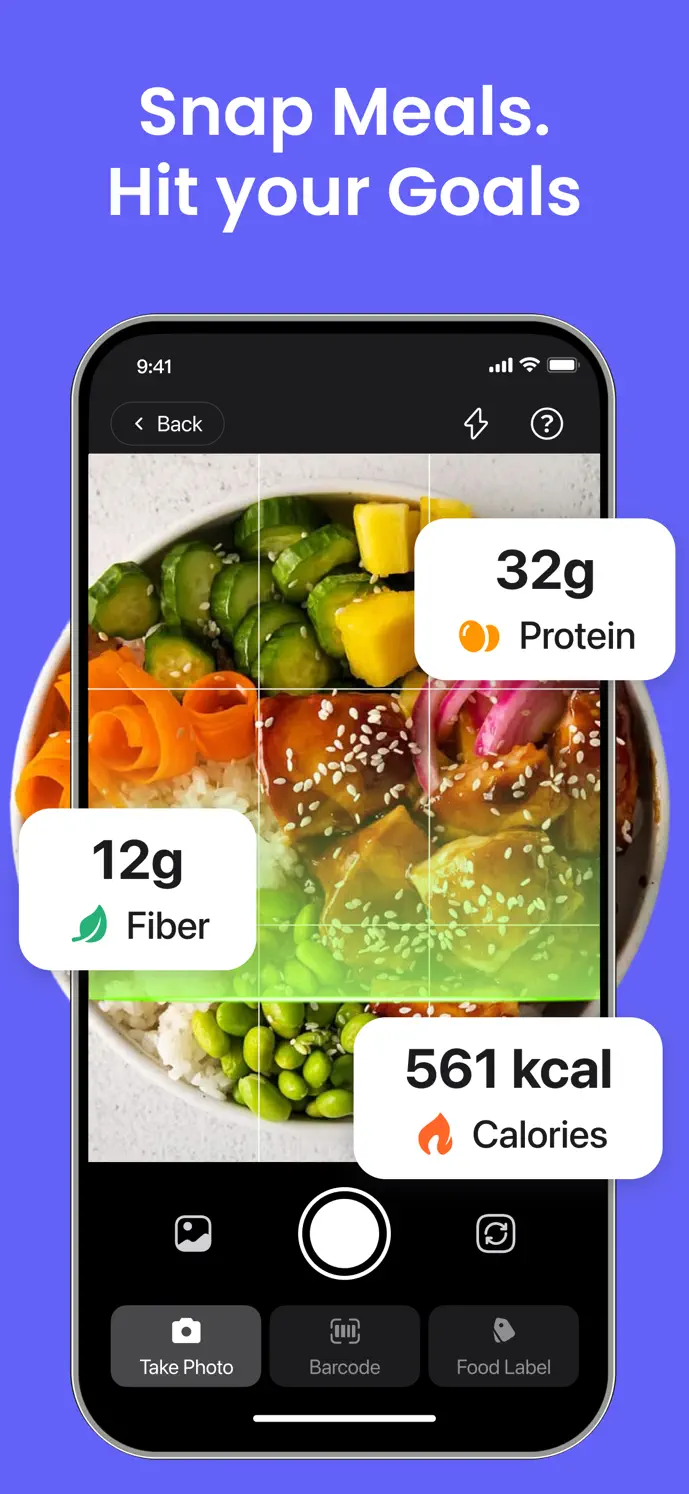
At a glance
- Photo, barcode & label scan
- Editable portions & nutrients
- Protein, fiber & water
Choose an entry method that fits the meal
Scanning is a starting point for a record. A photo cannot reliably reveal every ingredient or its exact quantity, and a barcode result may not match a changed package. Review the result before adding it to your day.
| Method | When to use it | What to check |
|---|---|---|
| Meal photo | A meal you can photograph | Recognized foods, ingredients, and portion size |
| Barcode | A packaged product with a readable code | The matched product and the amount you ate |
| Nutrition label | A package with a readable nutrition panel | Units, serving size, and each recognized value |
| Manual entry | A food you want to enter yourself | The source values and portion you entered |
How to log a meal in GlowBack
Open food logging and choose a food or scanning method.
If scanning, take a clear meal or label photo, choose an image, or scan the product barcode.
Review the result and adjust the serving quantity and nutrition values where needed.
Check the date and time for the meal, then save it.
Review your daily totals. Open an existing food log when you need to correct its details.
Walk through a manual food entry
For example, if a package lists nutrients for one serving and you ate half a serving, record that portion and check the resulting values. This is an example of entering label information, not a recommended portion or nutrition goal.
Open food logging and choose manual entry or a food you can check against a known label.
Enter the food name and the calories and nutrients available from your source. Confirm whether those values describe one serving or a stated weight.
Set the quantity you actually ate, then review the displayed totals after the portion changes.
Check the meal date and time, save, and find the entry in that day’s food history.
Walk through a photo or label scan
An image may omit oils, sauces, or hidden ingredients. A barcode may return a different product size. The saved record should reflect the information you have checked, rather than the first result returned by recognition.
With an eligible plan and an internet connection, choose a meal photo, a readable label, or a barcode. Allow the camera or photo permission needed for your choice.
Wait for processing, then compare the recognized food or product with what you ate.
Check serving size, units, ingredients you can identify, and nutrient values. Correct the result when you have better information.
Check the meal date and time before saving. If recognition fails, use manual entry.
Correct a saved meal without adding a duplicate
To change an existing meal, open the food already logged in that day’s Home or Lifestyle history and edit that saved entry. Adjust the portion or nutrient fields, save, and check that the day now contains the intended entry.
Opening a general food detail and choosing Log Food again can create another record. If a daily total looks too high, check for a duplicate before changing your goals. Labels and navigation can differ by app version.
See more than a calorie total
Food entries can include calories, protein, fat, carbohydrates, and fiber. Water has its own logging flow, so you can keep hydration records alongside meals without inventing a food entry for each drink.
Use goals that are appropriate for you and agreed with your care team when relevant. The totals describe what you logged; an incomplete food diary will also have incomplete totals.
Keep daily progress close with a widget
GlowBack’s home-screen widgets can show protein, fiber, and water progress on iOS and Android. Add a widget through your device’s home-screen controls, then use the app’s widget settings for the available options.
Widgets display information from saved app data. Refresh behavior depends on the operating system, and a widget may not update instantly. Widget access requires an eligible plan.
Before you use food scanning
- Food photo, label, and barcode scanning require an eligible paid plan.
- Image recognition uses an internet connection and uploads the selected image for processing.
- Camera and photo access depend on the permissions you grant.
- Recognition may return no result or an incorrect result. You can use manual entry and correct a saved log.
- Features and offers can vary by app version and platform. Check your current in-app plan.
A little more clarity
Common questions
Can I change the nutrition values after a scan?
Yes. Review serving size and nutrient fields in the food entry before saving. You can also edit a saved food log to correct the recorded values.
Is a photo scan an exact nutrition measurement?
No. Treat recognized values as estimates that need review. Ingredients, portions, image quality, and product information can affect the result.
Do I have to scan every meal?
No. You can use food lookup or manual entry when that fits better. Scanning is one option within the logging workflow.